

Blueberry Pie Recipe – GF, RSF

Mountainside Bakery • July 13, 2021

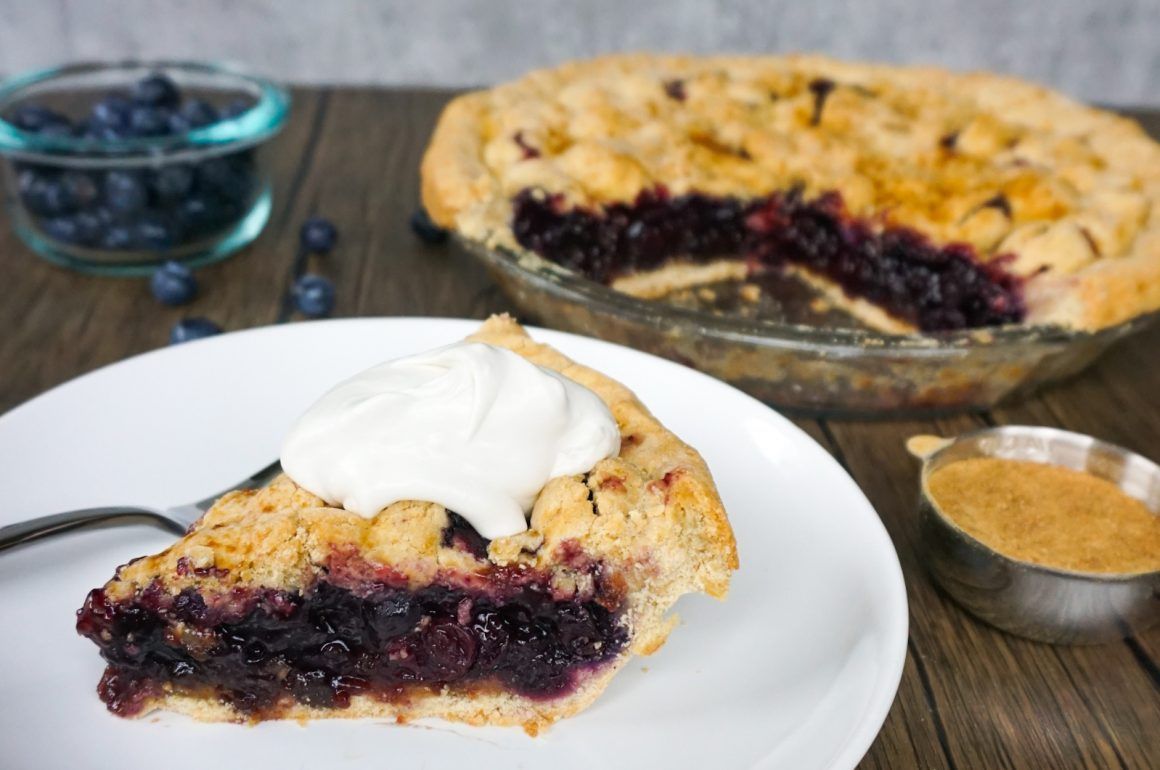
This blueberry pie recipe is so good that you won’t even notice that it is gluten free for refined sugar free! Blueberry pie is one of my favorite pies, and it is nice to have a GF and RSF option.


The blueberry filling is easy to make, all you have to do is wash the berries and mix. It is sweetened with maple syrup and coconut sugar, so it is just sweet enough and not overwhelming. This recipe is a great way to use up those extra blueberries from Costco or any you might have picked yourself.


The dairy free whipped cream is made with coconut cream, which I would even eat just by itself. The only dairy in this blueberry pie recipe is the butter in the crust. You could try switching out if you would prefer. I find that the butter tends to help hold the pie crust together while you are rolling it out. It also gives the crust a great flavor.


This blueberry pie recipe will work for both sea level and high altitude, so there is only one below. If you are nervous about making a pie crust, check out my pie crust tutorial ! Hope you enjoy! Be sure to leave a comment if you try out the recipe or have any questions!

Slice of berry pie with whipped cream on a white plate, beside a whole pie and small bowl on a wooden table

Blueberry Pie Recipe - GF, RSF

This pie is so good that you won't even know that it is gluten free and refined sugar free! The filling is very easy to make, perfect for a summer dessert!

Equipment

  • Pie pan
  • Pastry cutter
  • Aluminum foil or pie crust shield
  • plastic wrap

Ingredients

Pie Crust

  • 3/4 cup arrowroot starch (plus extra for rolling)
  • 1 1/3 cup brown rice flour
  • 3 tbsp coconut sugar
  • 1/4 tsp salt
  • 3/4 cup cold butter (1 1/2 sticks)
  • 2 large eggs (cold)
  • 1 tbsp white vinegar
  • 1 tbsp water, plus more as needed

Blueberry Filling

  • 5 cups blueberries
  • 1/2 cup coconut sugar
  • 1/4 cup maple syrup
  • 1 tbsp lemon juice
  • 1/4 cup corn starch
  • 1 pinch salt

Dairy Free Whipped Cream

  • 4 cans (5.4oz) coconut cream (or 21.6 oz total)
  • 1 tsp vanilla
  • 2 tbsp maple syrup
  • 1/4 cup tapioca starch

Instructions

  1. In a mixing bowl combine the arrowroot starch, brown rice flour, coconut sugar, and salt. Blend together with a fork.
  2. Cut the butter into slices and add to the mixing bowl. Use a pastry cutter to cut in the butter until the chunks are about the size of a pea.
  3. In a small bowl whisk together the eggs and the vinegar. Add to the mixing bowl and stir.
  4. Start by adding 1 tbsp of water to the mixing bowl, and add more until the dough just holds together.
  5. Separate the dough into two balls and flatten slightly. I like to make the one for the bottom of the pie slightly bigger. Wrap with plastic wrap and chill for about 20-30 minutes.
  6. While the dough is chilling, make the blueberry filling and preheat oven to 375F
  7. Wash your blueberries and make sure there are no stems on them.
  8. Add the blueberries, coconut sugar, maple syrup and lemon juice to a large mixing bowl and mix until the blueberries are evenly coated.
  9. Add the cornstarch and pinch of salt and mix until evenly coated.
  10. Once the dough has chilled, cover work surface with plastic wrap or parchment paper and sprinkle with arrowroot starch
  11. Take out the dough for the bottom of the pie and sprinkle with arrowroot starch. Dust the rolling pin and roll out until desired size. Transfer to the pie pan.
  12. Add the blueberry filling to the pie, then roll out the top crust.
  13. Cut some slits in the top pie crust so the pie can vent while baking. Optional: sprinkle the top of the pie with cinnamon and coconut sugar
  14. Either use aluminum foil or pie crust shields to protect the edges of the pie.
  15. Bake the pie for 1hr - 1hr 10min. Check the edges of the pie crust after about 50 minutes, if they need to brown a bit then remove the aluminum foil/pie shield.
  16. Let the pie cool completely on a cooling rack. Store any leftovers in the refrigerator.

Dairy Free Whipped Cream

  1. Chill your coconut cream in the refrigerator overnight, or about 8 hrs.
  2. About 15 minutes before you want to make the whipped cream, place your mixing bowl in the freezer to chill it.
  3. Open the cans of coconut cream and pour out any liquid.
  4. Transfer the hardened coconut cream to your mixing bowl and whip until smooth.
  5. Add the vanilla and maple syrup, whip until combined.
  6. Add the tapioca starch and whip until combined.
  7. Once you have made it, try to keep it cold and store any extra in the refrigerator.
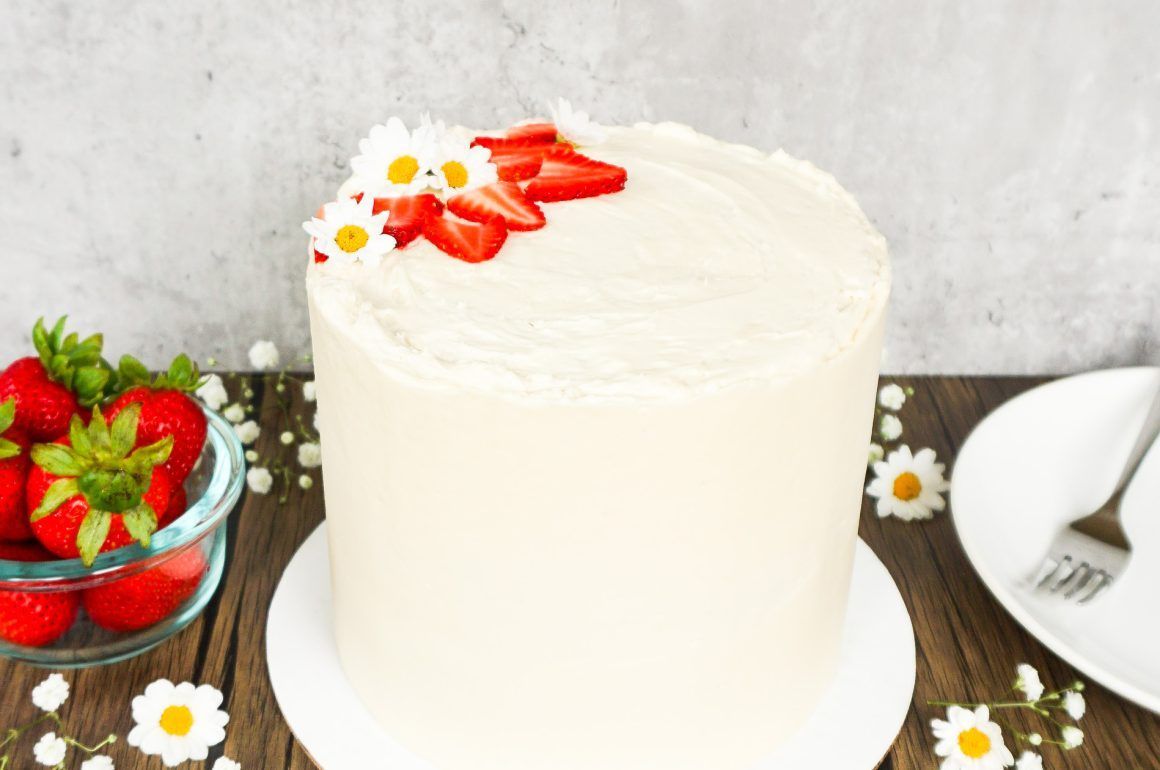
White frosted cake topped with strawberries on a wooden table, with strawberries and a plate beside it
By Mountainside Bakery • June 26, 2024
This delicious Strawberry Cake Recipe is a must try! The real strawberry puree that is added to the cake can...The post Strawberry Cake Recipe appeared first on Mountainside Bakery.
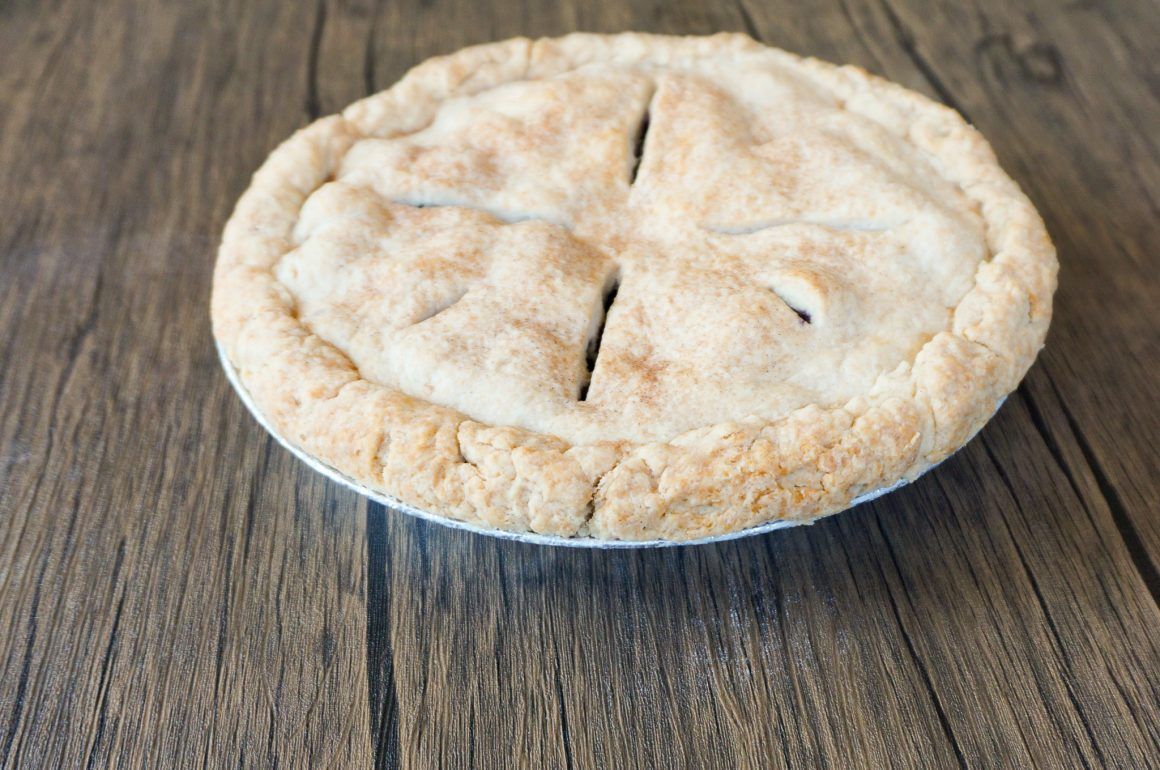
A baked pie in a metal tin on a wooden table, with a golden crust and slits on top
By Mountainside Bakery • May 31, 2024
This Vegan Pie Crust Recipe works great with any pie! The recipe makes enough for a double crust pie or... The post Vegan Pie Crust Recipe appeared first on Mountainside Bakery.
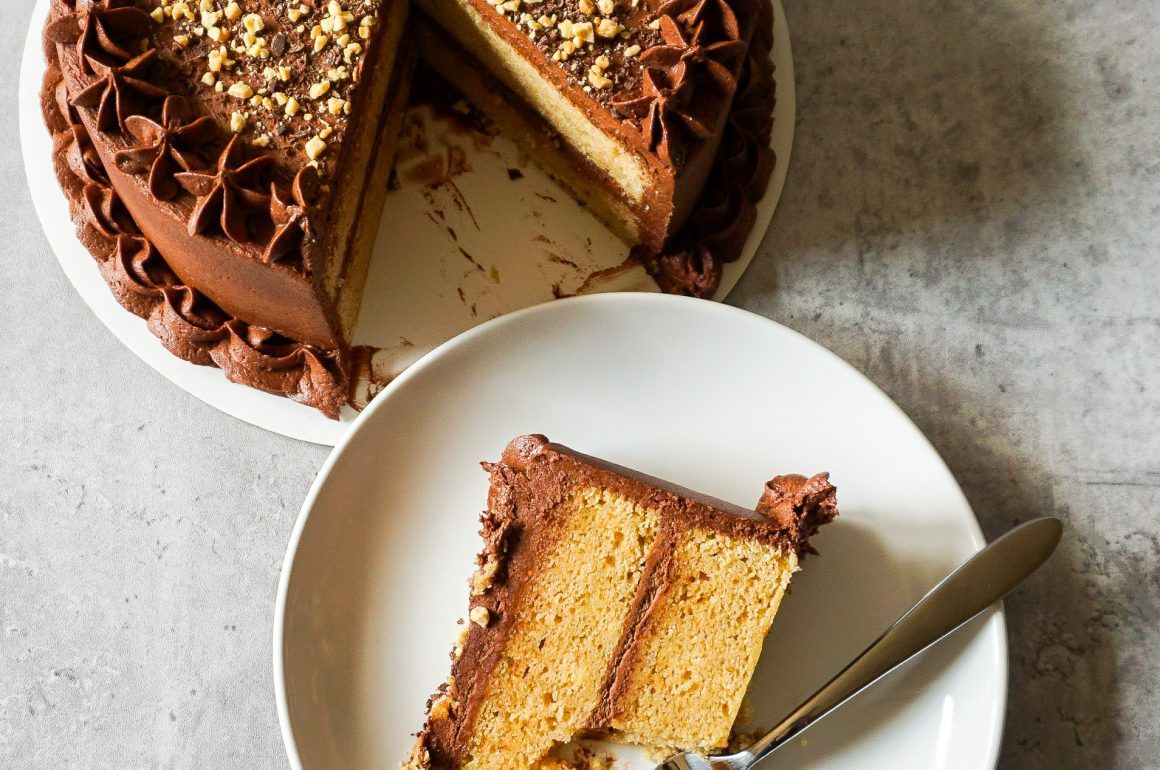
Slice of yellow layer cake on a plate beside the remaining chocolate-frosted cake, with a serving knife
By Mountainside Bakery • April 15, 2024
My homemade Peanut Butter Cake Recipe is delicious, especially when paired with chocolate buttercream! The cake has a great peanut... The post Peanut Butter Cake Recipe appeared first on Mountainside Bakery.